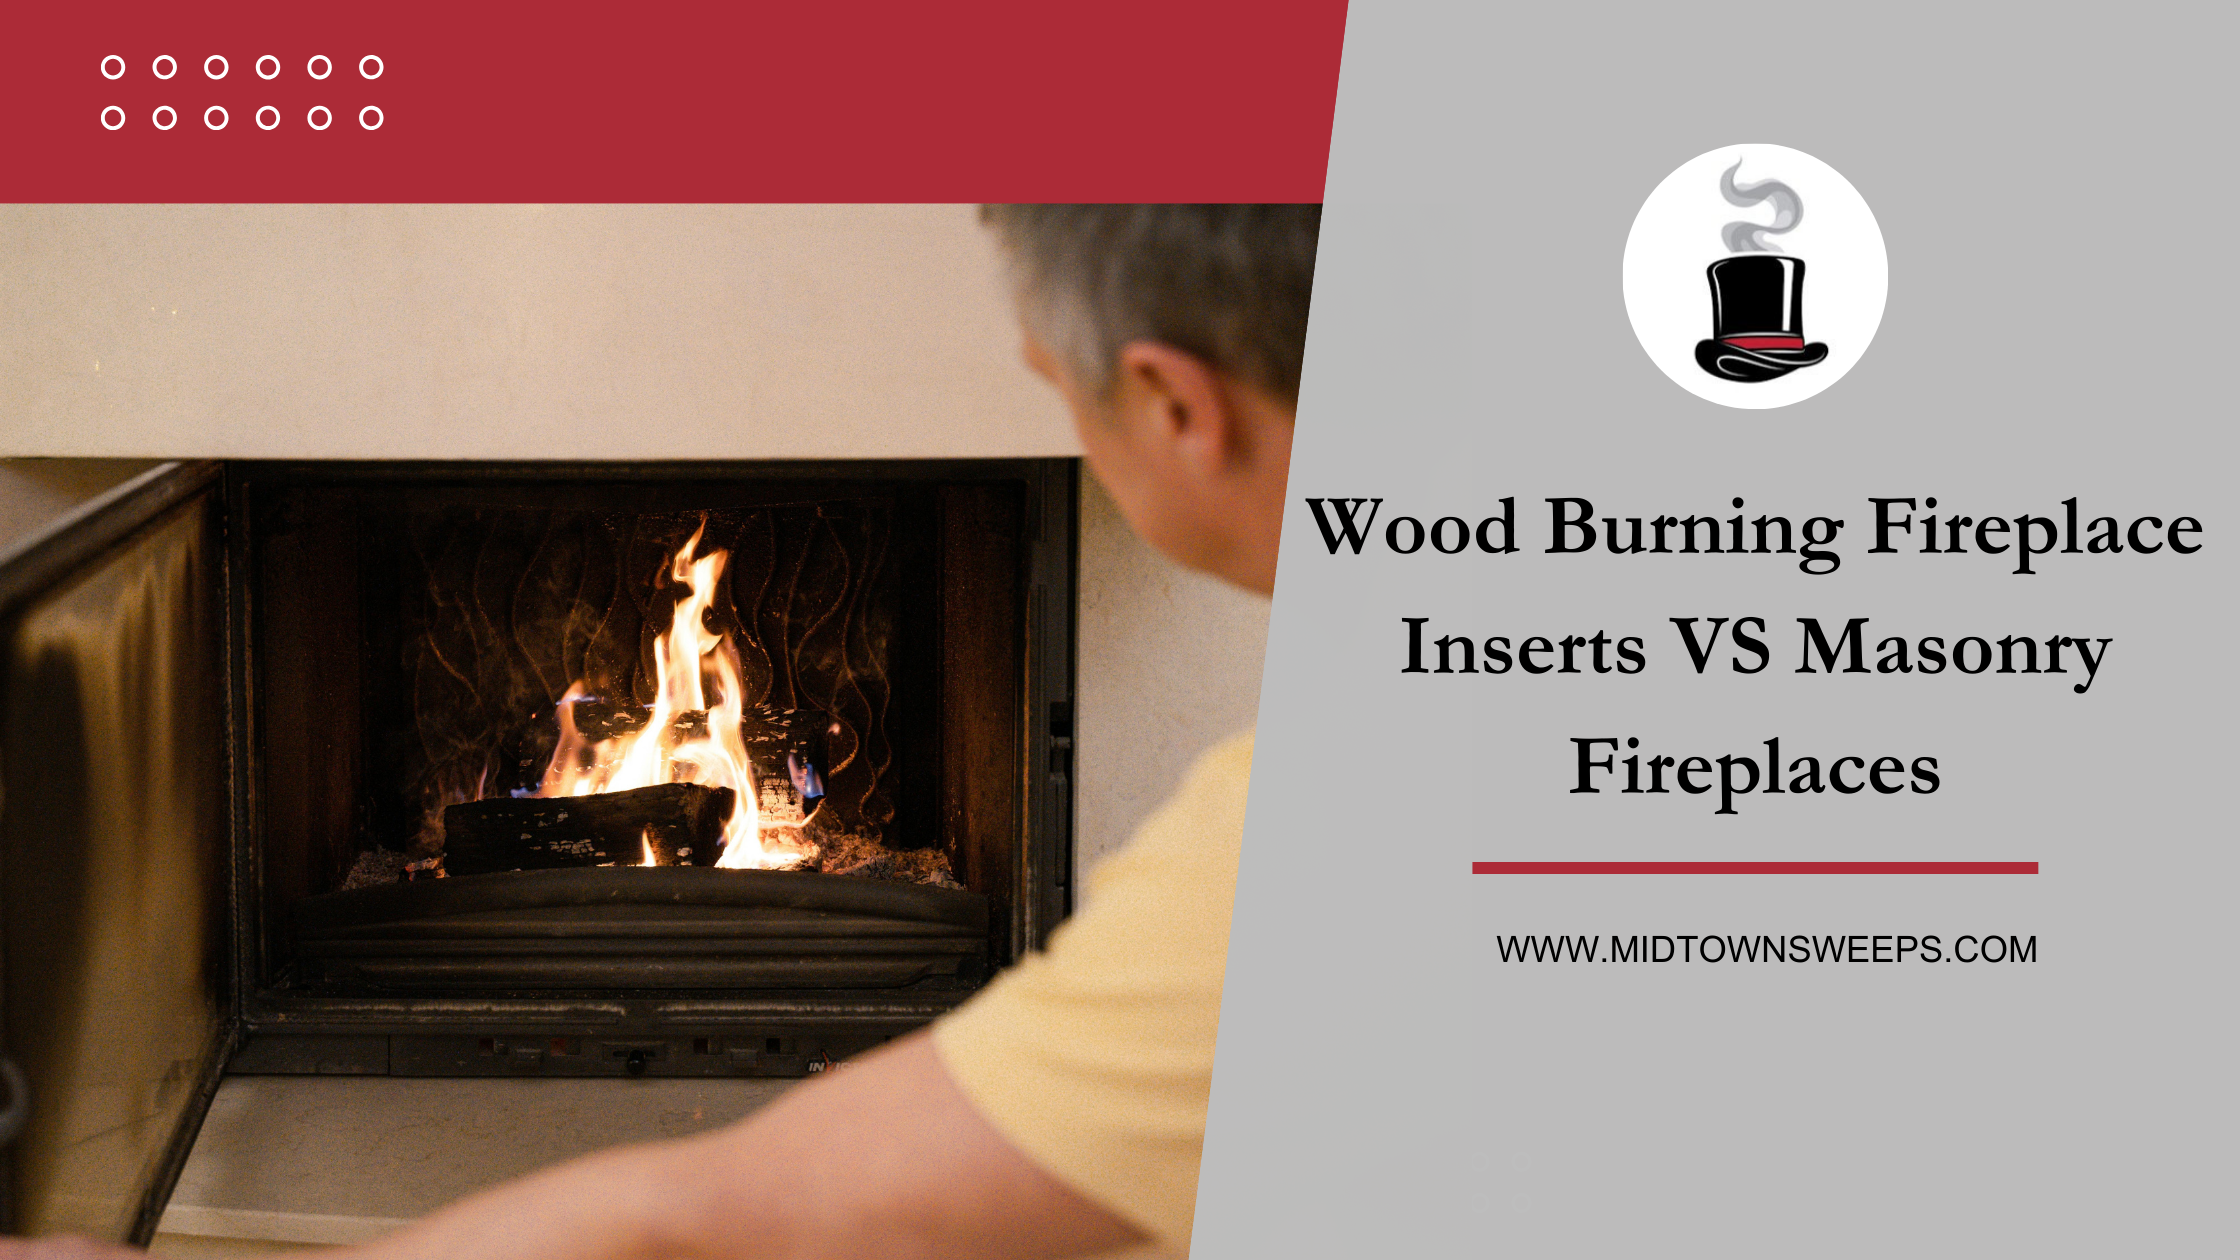
Fireplace doors can be a great addition to your wood burning fireplace, not only for aesthetic reasons, but also for safety and energy efficiency. Fireplace door installation may seem like a daunting task, but with a little bit of patience and some basic tools, it can be done in a day or less.
Here is a step-by-step guide to help you install fireplace doors:
Step One: Choose the right fireplace door and gather tools.
Before you start your fireplace door installation process, you need to choose the right fireplace door. There are many different types of fireplace doors available. Choose one that fits your fireplace’s size and style. Click here to see some ideas if you are unsure of what style you’re looking for! Measure the height and width of your fireplace opening to ensure that the doors you choose will fit properly. Tools that you need will include a Phillips screwdriver, a drill, hammer, ratchet wrench and sockets, clamps, and pliers. Also, a good place to start is to check the fireplace door manufacturer’s guide for recommended tools for the job.
Step 2: Clean the fireplace.
The next step is to clean your fireplace thoroughly. It is recommended to hire a professional to sweep and inspect your fireplace to ensure all ashes, soot, and debris is removed completely and correctly. Also make sure to vacuum the area around the hearth.
Step 3: Attach the lintel clamps and mounting brackets.
Most fireplace doors come with mounting brackets that attach to the bottom of the fireplace opening and lintel clamps which attach to the top. Remove the screws if they are already in place on the back of the fireplace door and assemble the lintel clamps to attach to the door at the top. Make sure the brackets are level and centered.
Step 4: Install the frame.
Next, you need to carefully install the frame of the fireplace door into the opening of the firebox. If your fireplace door needs anchor screws at the bottom, carefully mark where you will place these anchor screws when the door is fitted in the correct spot. Then pull the door out and set it aside while you drill the anchor screws. Attach the frame to the mounting brackets with the additional screws.
Step 5: Insulate and adjust the door.
Prior to placing the fireplace door in its final spot, insulate the door with the insulation product that comes with the purchase of the fireplace door. Don’t forget to wear gloves! Once the insulation is in the channels of the fireplace door, mount the door securely and adjust to make sure it fits snugly and safely.
Step 6: Securely attach the fireplace door to the lintel clamps and brackets.
Once the fireplace door is snug and adjusted, screw into the brackets, lintel clamps, and anchor screws. Use your hand to screw in as much as you can, then double check there’s no loose insulation and the door is sitting correctly. Then use your ratchet wrench to tighten thoroughly.
Step 7: Finish the Installation.
The final step is to finish the installation by attaching the door handle and any other accessories that come with the fireplace doors. Make sure everything is securely in place, and test the door to make sure it opens and closes smoothly.
Overall, installing fireplace doors can be a great way to enhance the look of your fireplace, while also improving safety. Follow these simple steps, and you’ll have beautiful fireplace doors that you can enjoy for many years to come.


